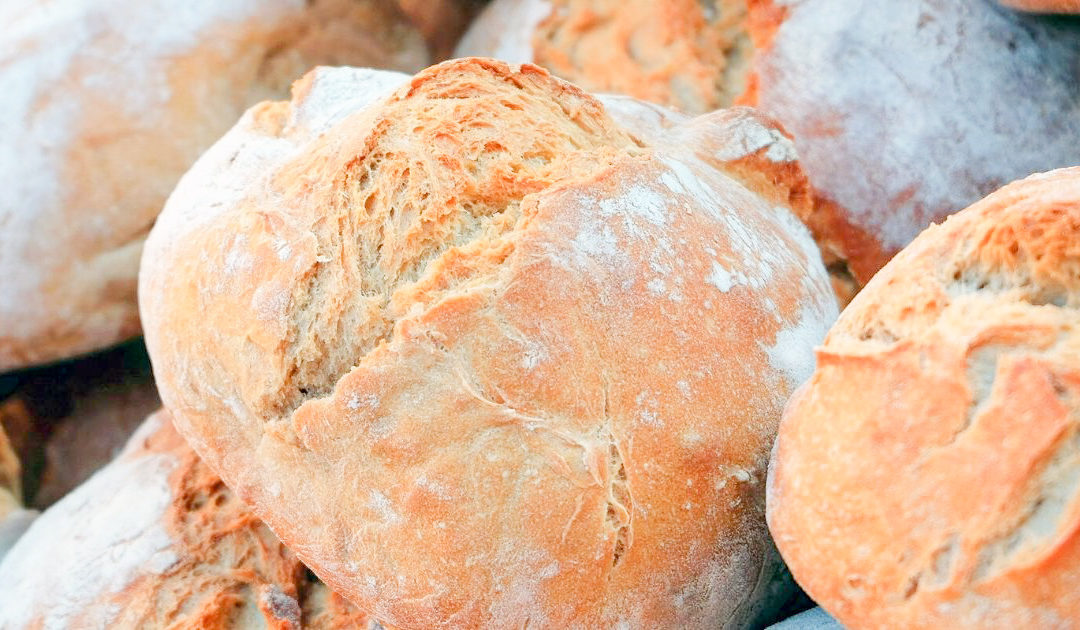
To help you get the most out of your sourdough starter, I’ve collected some of the best sourdough bread recipesfrom the internet. Time to get that flour out and start baking!
THE SOURDOUGH OBSESSION
When you catch the sourdough bug, baking everything with your sourdough starter can become a new hobby.
Or baking obsession.
But who can blame you? Baking with sourdough has soooo many benefits, not only does it end an irresistible flavor and texture, it also gives you a more nutritious and digestible end product.
DOWNLOAD MY FREE EBOOKS HERE!
Access all of my free ebooks, printables and helpful resources.
You're in! Check your inbox for download instructions!
To help you fuel your sourdough obsession, I’ve collected around the best sourdough bread recipes from the internet. You’ll find all sorts of yummy recipes that have you reaching for your starter day after day.
This post contains affiliate links, for which we may earn a small commission at no added cost to you. Read our affiliate disclosure here
TOOLS NEEDED FOR BAKING SOURDOUGH
Before we get started, let’s go over some of the most helpful tools you will need when baking sourdough bread. I’m sure most of you already have a loaf pan of Some sort but beyond that here are some other essentials that you will want to have.
First of all, get this book! This book will literally change your life. You wouldn’t think that a book about bread baking would have the ability to change someone’s life but seriously, this book is really good. Just check it out!
—Einkorn flour.T his flour is my favorite. It’s made from ancient wheat and those with gluten intolerances often do well with it, especially when it’s fermented by making sourdough with it. It’s also available at THRIVE MARKET. You can get 25% off your first order through my link. I love to buy einkorn, gelatin and coconut milk from here. They have quite a few things that are actually cheaper than Amazon!
—Sourdough starter. Grab some from a friend or learn to make your own. You can also order a starter kit online like this one.
–Jars to keep your starter in. Wide mouthed mason jars work great, orthis type of jar
–Kitchen Scale to feed your starter and weigh your dough. Or, just eyeball it.
—Ceramic bowl.These kind work well for raising the dough in
–Kitchenaid stand mixer. These things are amazing. Especially if you really get into bread making, having a stand mixer like this onewith the ability to need dull will save you hours of time. If you can afford one, get one. It will be worth it I promise
—Bread pans. I’m guessing you already have some, but if you don’t or you are looking for new onesthese cast iron ones make really nice and evenly cooked loaves
—Water filter. This is of course totally optional, but you will want to use a good filtered water or spring water for making your bread. If you’re looking for a good water filter, you can read about the one I have fallen in love with here
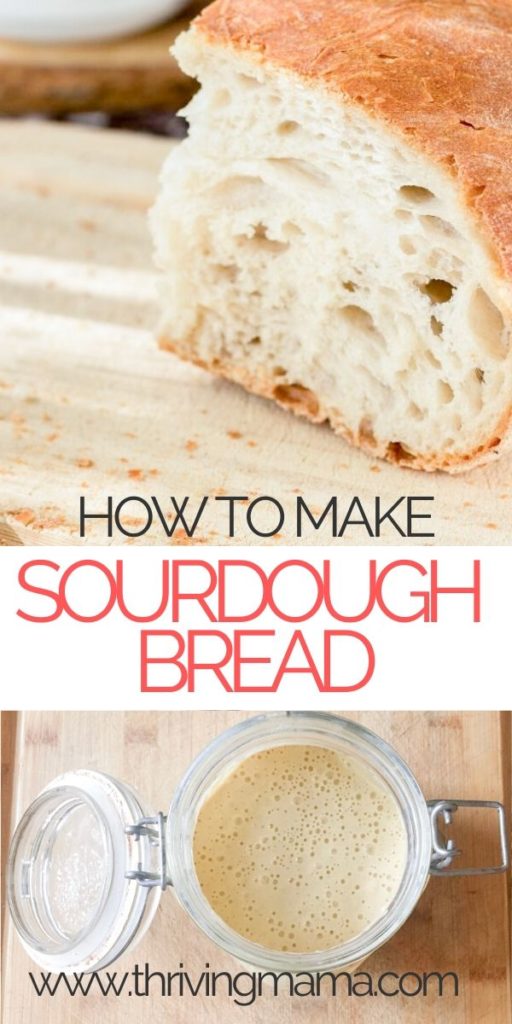
PIN HOW TO MAKE HOMEMADE SOURDOUGH BREAD FOR LATER
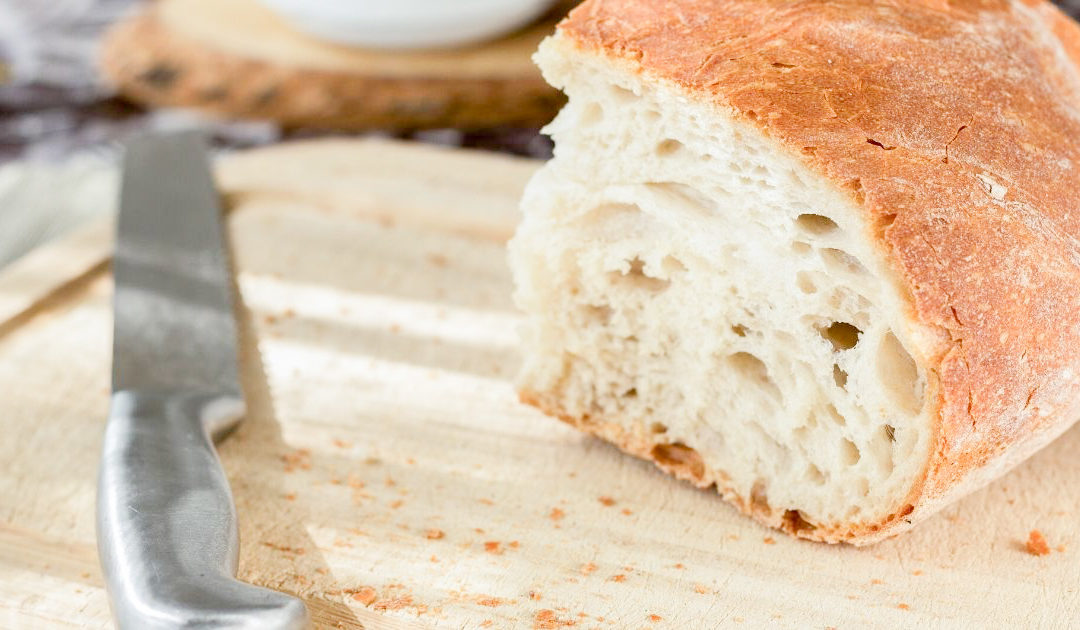
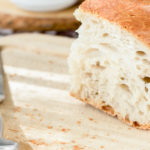
Do you want to learn how to make homemade sourdough bread? This easy recipe is a healthy, soft and slightly sweet loaf the entire family enjoys
A KID APPROVED SOURDOUGH BREAD
I adore dense, crusty, chewy, whole grain sourdough bread. But my kids… don’t.
I have made so many loaves of sourdough bread that I think are absolutely divine, and they won’t touch them with a 10 foot pole.
I finally got fed up and decided to experiment with my recipes until I found one that they liked.
After a few flops, I think we finally have a winner!
This love is slightly sweet, soft, and flavorful. The kids love it!
This post contains affiliate links, for which we may earn a small commission at no added cost to you. Read our affiliate disclosure here
TOOLS NEEDED FOR BAKING SOURDOUGH
Before we get started, let’s go over some of the most helpful tools you will need when baking sourdough bread. I’m sure most of you already have a loaf pan of Some sort but beyond that here are some other essentials that you will want to have.
First of all, get this book! This book will literally change your life. You wouldn’t think that a book about bread baking would have the ability to change someone’s life but seriously, this book is really good. Just check it out!
—Einkorn flour.T his flour is my favorite. It’s made from ancient wheat and those with gluten intolerances often do well with it, especially when it’s fermented by making sourdough with it. It’s also available at THRIVE MARKET. You can get 25% off your first order through my link. I love to buy einkorn, gelatin and coconut milk from here. They have quite a few things that are actually cheaper than Amazon!
—Sourdough starter. Grab some from a friend or learn to make your own. You can also order a starter kit online like this one.
–Jars to keep your starter in. Wide mouthed mason jars work great, or this type of jar
–Kitchen Scale to feed your starter and weigh your dough. Or, just eyeball it.
—Ceramic bowl.These kind work well for raising the dough in
–Kitchenaid stand mixer. These things are amazing. Especially if you really get into bread making, having a stand mixer like this one with the ability to need dull will save you hours of time. If you can afford one, get one. It will be worth it I promise
—Bread pans. I’m guessing you already have some, but if you don’t or you are looking for new ones these cast iron ones make really nice and evenly cooked loaves
—Water filter. This is of course totally optional, but you will want to use a good filtered water or spring water for making your bread. If you’re looking for a good water filter, you can read about the one I have fallen in love with here
How to Eat Organic on a Budget FREE Ebook
Print off the CLEAN 15 AND DIRTY DOZEN SHOPPING GUIDE so that you always know what to buy from the organic produce section!
You have Successfully Subscribed!
PIN HOW TO MAKE HOMEMADE SOURDOUGH BREAD FOR LATER
I had to play around with the amount of butter, and the kneading time, but I feel like I finally have a recipe that makes a delicious loaf of whole grain sourdough bread every single time.
If you have been trying to make sourdough bread for a while you may have already discovered that it can take a while to get the hang of. Making traditional sourdough bread can be a lot trickier than the more modern way of baking with yeast packets.
Obviously, to make sourdough bread you will need a sourdough starter. I go into how to make your own from scratch in great depth in this post.
TIPS FOR MAKING WHOLE WHEAT SOURDOUGH BREAD
Use a sharp serrated knife to cut the bread.
Einkorn is my favorite flour to use, but any good quality whole grain flour can work.
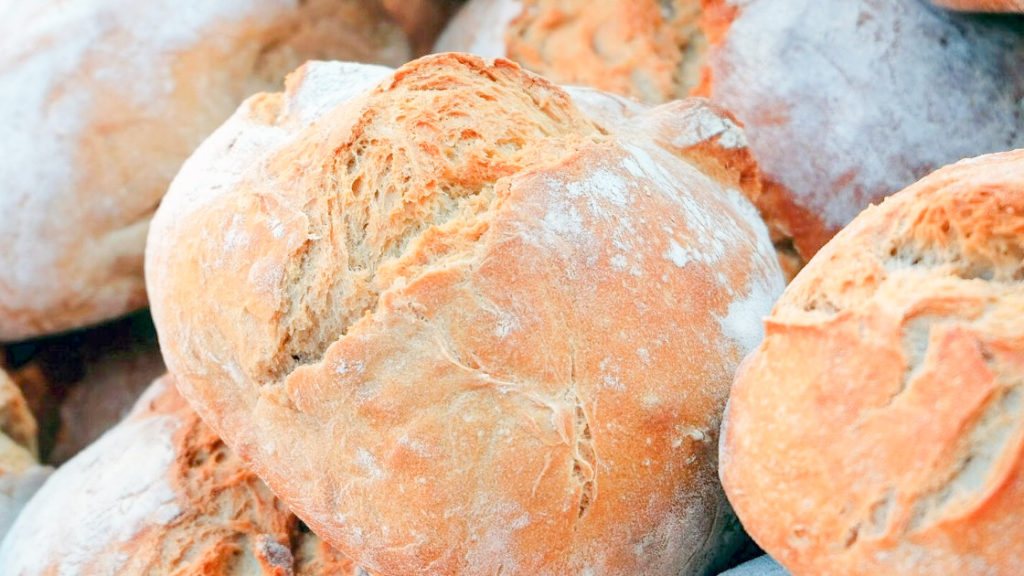
Sourdough is a little different, don’t expect it to be super fluffy like store bought bread.
Make sure you feed your sourdough starter about 8 hours before making bread.
SIGN UP FOR THE FREE 7 DAY SMOOTHIE CHALLENGE
Sign up now to experience just how tasty, affordable AND quick a daily green smoothie can be! Because who really wants to do it any other way? Enjoy 7 simple recipes, a 7-ingredient shopping list and a thriving support group to ask any questions along the way.
Start thriving today!
Awesome! You did it! Now check your email for your challenge!
HOMEMADE SOURDOUGH BREAD RECIPE
Do you want to learn how to make homemade sourdough bread? This easy recipe is a healthy, soft and slightly sweet loaf the entire family enjoys
Serving size: 2 loaves
Prep Time: 24 hour
Cook Time: 35 minutes
WHOLE WHEAT SOURDOUGH BREAD RECIPE INGREDIENTS
6-7 cups freshly ground flour
1 cup fed sourdough starter
½ cup melted butter
1/2 tablespoon salt
½ cup honey
1½ cups filtered water
WHOLE WHEAT SOURDOUGH BREAD RECIPE INSTRUCTIONS
The night before, combine the flour, starter, oil, salt, honey and water in a large bowl. Knead the dough until it is stretchy. I usually knead it for about 10-15 minutes. You can use a stand mixer with a dough hook or do it by hand. Add just enough flour so that it pulls away from the sides of the mixer and isn’t sticking to your hands. It should take around 6 and 7 cups, depending on wetness of the starter and what kind of flour you use. Add a little more water if it is too dry, or flour if it is too wet.
Place the dough in a greased glass bowl. Roll the dough around a bit so that the entire ball is lightly coated oil. Cover the dough with a clean dish towel or cheese cloth l and let it rise overnight, or up to 24 hours.
The next day, divide the dough into two even balls. You can use your scale for this part if you like. Place each one into a greased bread pan. Cover with the dish towel and allow it to sit in a warm place until double in size. This will take anywhere from 4-12 hours, depending on how warm your kitchen is.
Do you want to learn how to make homemade sourdough bread? This easy recipe is a healthy, soft and slightly sweet loaf the entire family enjoys
Prep Time1d
Cook Time35mins
Course: Side Dish
Servings: 2loaves
Ingredients
6-7cupswhole grain or einkorn
1cupfed sourdough starter
1/2cupmelted butter
1/2tablespoonsalt
1/2cuphoney
1 1/2cupsfiltered water
Instructions
The night before, combine the flour, starter, oil, salt, honey and water in a large bowl.
Knead the dough until it is stretchy. I usually knead it for about 10-15 minutes. You can use a stand mixer with a dough hook or do it by hand. Add just enough flour so that it pulls away from the sides of the mixer and isn't sticking to your hands. It should take around 6 and 7 cups, depending on wetness of the starter and what kind of flour you use. Add a little more water if it is too dry, or flour if it is too wet. Place the dough in a greased glass bowl.
Roll the dough around a bit so that the entire ball is lightly coated oil. Cover the dough with a clean dish towel or cheese cloth and let it rise overnight, or up to 24 hours.
The next day, divide the dough into two even balls. You can use your scale for this part if you like. Place each one into a greased bread pan. Cover with the dish towel and allow it to sit in a warm place until double in size. This will take anywhere from 4-12 hours, depending on how warm your kitchen is.
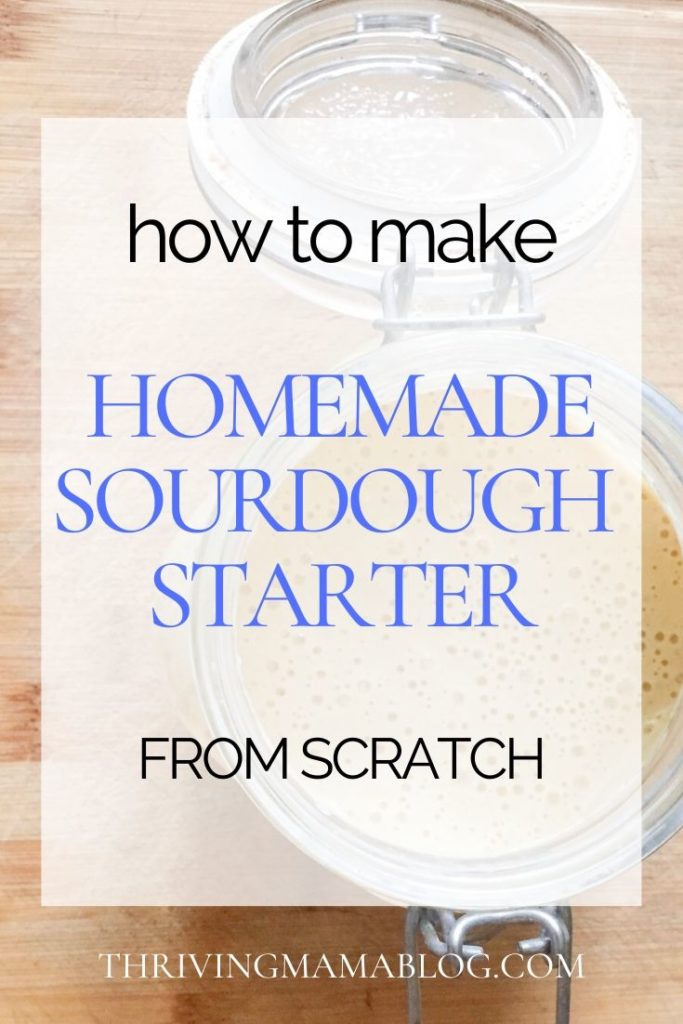
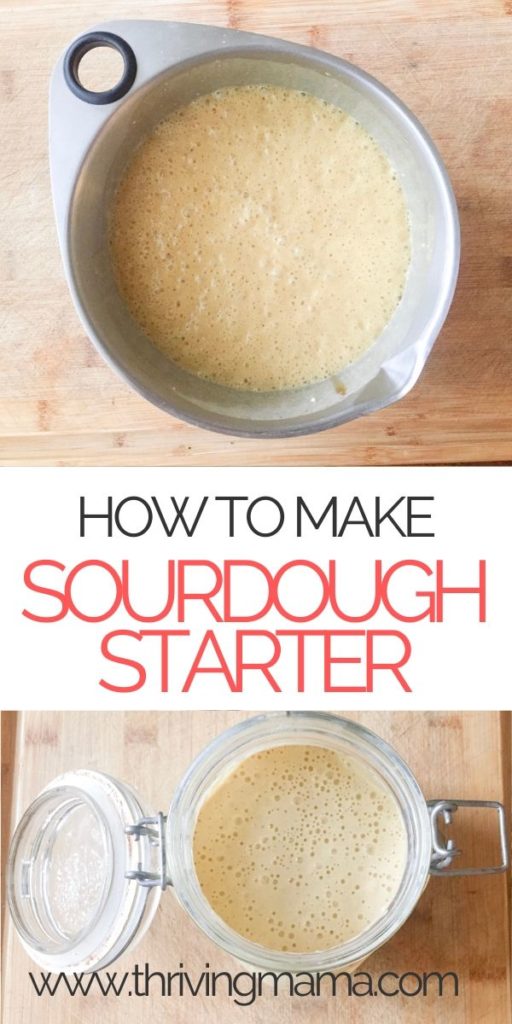
Learn how to make an easy homemade sourdough starter from scratch, as well as the health benefits long fermented sourdough can offer.
Making sourdough starter from scratch is a traditional skill that can add so much benefit to your family’s diet.
When I learned that using Einkorn Flour to make long fermented sourdough bread that many people with gluten intolerance are able to enjoy with no issues, I jumped right in!
If you’re needing a good sourdough bread recipe, this is my family’s favorite bread family’s favorite bread
TOOLS TO GET STARTED WITH SOURDOUGH
Before we get started, here are the tools and supplies I recommend:
Good Quality Flour – I prefer Einkorn flour, but any good quality flour will do.
Jars – Don’t get the ones with small openings. I like these jars best. It’s nice to have at least two jars so that you can switch them out every so often while you wash the other one.
Filtered water – I highly recommend the Big Berkey water filter. Actually, I more than recommend it, I ADORE it. It is the best water filter EVER. I love it so much that I wrote an entire post about it. Of course, the Big Berkey is totally optional, but you will want to use a good quality filtered or spring water for your starter.
Cheese Cloth – Cheese cloth like this is best, or at least a clean dish towel.
Also, this book is awesome. If you really want to delve into making GOOD, HEALTHY sourdough, get this book. Especially if you or anyone in your family has gluten sensitivity and you’d like to learn how to make bread that they can eat.
WHAT IS SOURDOUGH STARTER?
If you aren’t familiar with fermented foods and sourdough, let me share with you why someone would go to all the bother of growing a colony of yeast and bacteria in their kitchen.
Back in the “old-fashioned days”, sourdough starter was a valued commodity. This was before yeast was sold in convenient little packets, and so starter was nurtured and passed down through families. The famous San Francisco sourdough starter is one example of this, and there are also many Amish sourdough starter recipes and cultures that have been passed down for generations.
Instead of using instant yeast, people used to leaven bread with a fermented sourdough starter full of beneficial yeasts and bacteria from the environment.
PIN HOW TO MAKE SOURDOUGH STARTER
HEALTH BENEFITS OF SOURDOUGH
Grains (as well as legumes, nuts and seeds) contain an antinutrient called phytic acid. Phytic acid inhibits the absorption of different nutrients. They are beneficial in that they keep the grains from spoiling, but can be difficult to digest.
However, proper preparation of grains will eliminate most of the phytic acid found in these foods.
Proper preparation of foods is an art that has been gradually lost over time. Traditional cultures always soaked and fermented their grains, nuts, seeds and beans. And with the loss of this tradition, we are finding that people can’t handle grains well anymore.
So how do you get a fermented sourdough from scratch started? Read on, and I’ll share my best tips.
HOMEMADE SOURDOUGH STARTER FROM SCRATCH INSTRUCTIONS
This post contains affiliate links, for which we may earn a small commission at no added cost to you. Read our affiliate disclosure here
INGREDIENTS
Flour (Einkorn, whole grain wheat and unbleached all purpose all work great)
Filtered water. (I like to use water from my Berkey filter, which you can read more about here)
TOOLS
Glass bowl or wide mouthed jars (metal and plastic can negatively affect the good bacteria in the starter.)
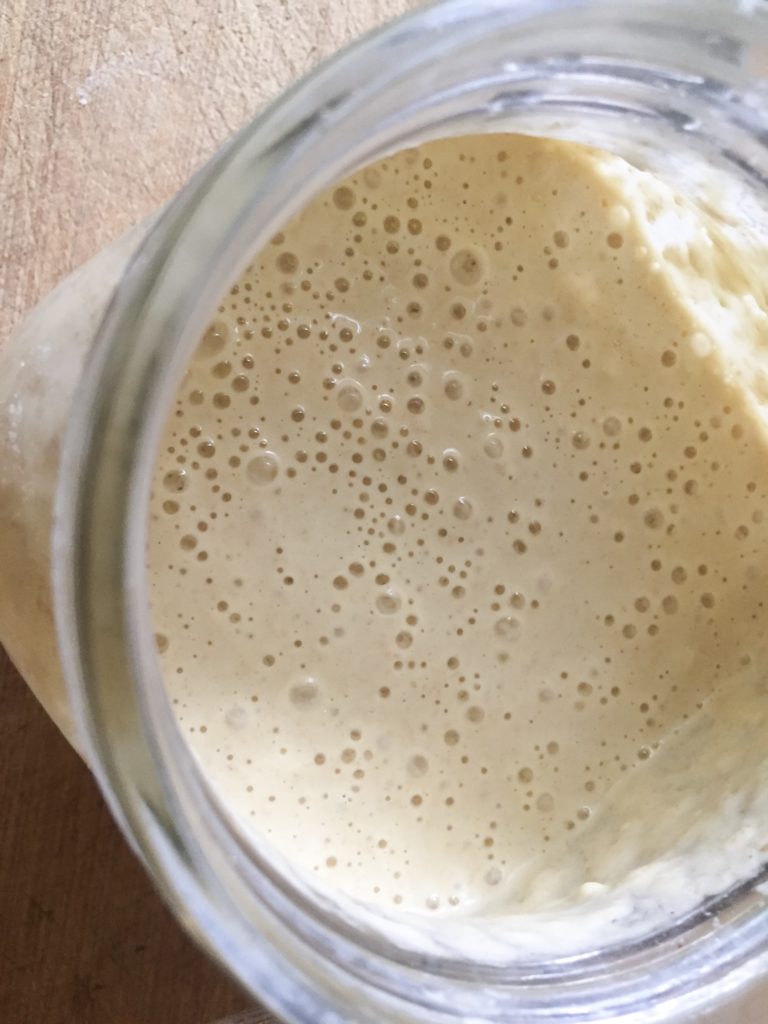
Day 1: Mix one cup of flour of your choice and one cup filtered water. Stir well, making sure all lumps are smoothed out and sides of the bowl are scraped down. Place a clean dish towel over the bowl and set aside. Allow to sit for 24 hours.
Day 2: Remove half the mixture and discard. Then, add one more cup of flour, one more cup of water, stir well and cover. (The reason you have to remove half of the mixture is that, after a few days you would have more starter than would fit in your bowl. But more importantly, removing half of the mixture makes sure that you have the right amount of flour and water to feed the growing yeast. If you didn’t remove half, you would end up with a lot of starter that wasn’t fully mature.)
Day 3-5: Repeat the process from day two for days three, four and five.
Day 6-7: Add flour and water the same as on the other days, but add it every 12 hours instead of every 24.
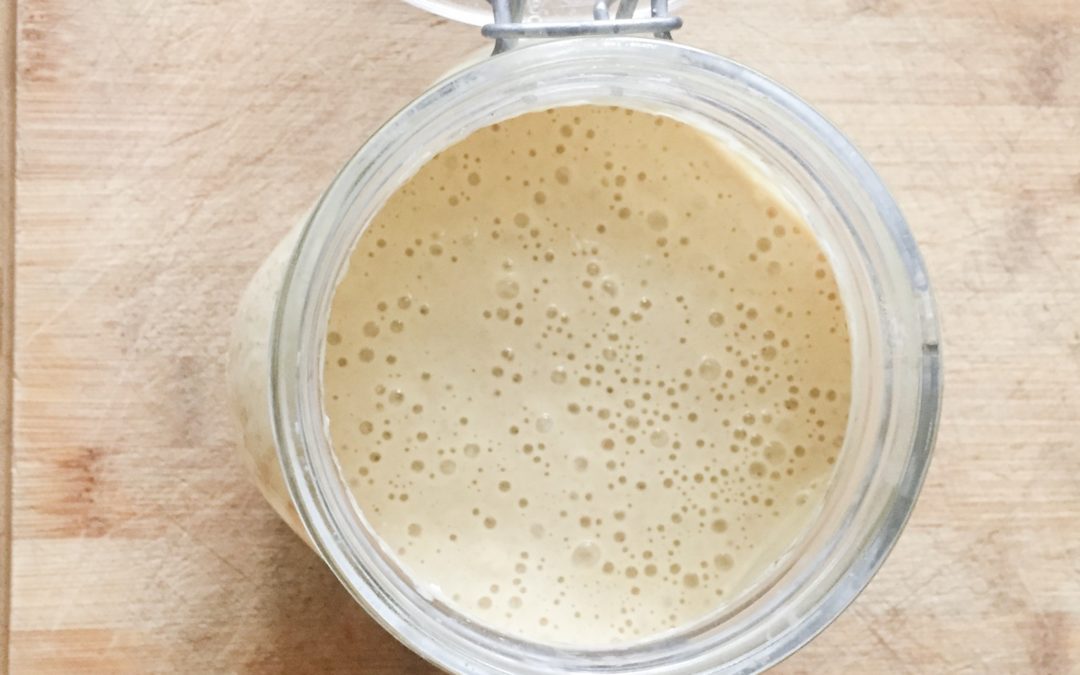
You will be able to tell if it’s growing and working properly because the starter will begin to bubble and will double in size. By the 7th day, the starter should be mature enough, with enough beneficial yeast and bacteria growing, to make sourdough bread, sourdough pancakes and other yummy things!
SOURDOUGH STARTER MAINTENANCE
Once you get your starter going, there are some things you need to do to maintain your sourdough starter and to keeping it going for continued use.
Feeding sourdough
You will need to feed your starter with more water and flour to make sure the live culture continues to have something to feed off of. Depending on if you refrigerate your starter or keep it out at room temperature will determine how frequently you feed it.
Store in the refrigerator for occasional use
If stored in the refrigerator, you will only need to feed it once every week or even every other week, as the cold slows down the fermentation process.
When keeping your starter in the fridge, you’ll want to pull it out and feed it, then let it set on the counter about 24 hours before you plan on using it.
How to Eat Organic on a Budget FREE Ebook
Print off the CLEAN 15 AND DIRTY DOZEN SHOPPING GUIDE so that you always know what to buy from the organic produce section!
You have Successfully Subscribed!
Store on the counter for daily use
It’s usually best to keep your starter in the refrigerator in between uses unless you are using it daily. If you use your sourdough daily-or almost daily-you may want to leave it out on the counter. If left out, you will need to add water and flour every day. Since the culture is active at room temperature it will ferment much more quickly.
What is the best container to keep sourdough starter in?
Stoneware or glass is the best container for sourdough starter. Plastic or metal can sometimes affect it the cultures. Make sure to keep it loosely covered, either with a lid, plastic wrap or a cloth. If using a lid, be sure not to screw the lid on too tightly as the jar could burst when the starter begins to grow and double in size..
HOW TO USE SOURDOUGH STARTER-MY FAVORITE SOURDOUGH PANCAKE RECIPE
There are so many things you can do with sourdough starter in addition to making delicious bread. English muffins, tortillas, cobblers and rolls…the possibilities are endless. But my current favorite is this recipe for PANCAKES!
SOURDOUGH PANCAKE INGREDIENTS
2 cups Sourdough Starter, fed
2 eggs
1/4 cup butter or coconut oil, melted
4 tablespoons sorghum
1/2 teaspoon salt
1 teaspoon baking soda
coconut oil or butter for frying
Get my full recipe for Sourdough Pancakes in this post.
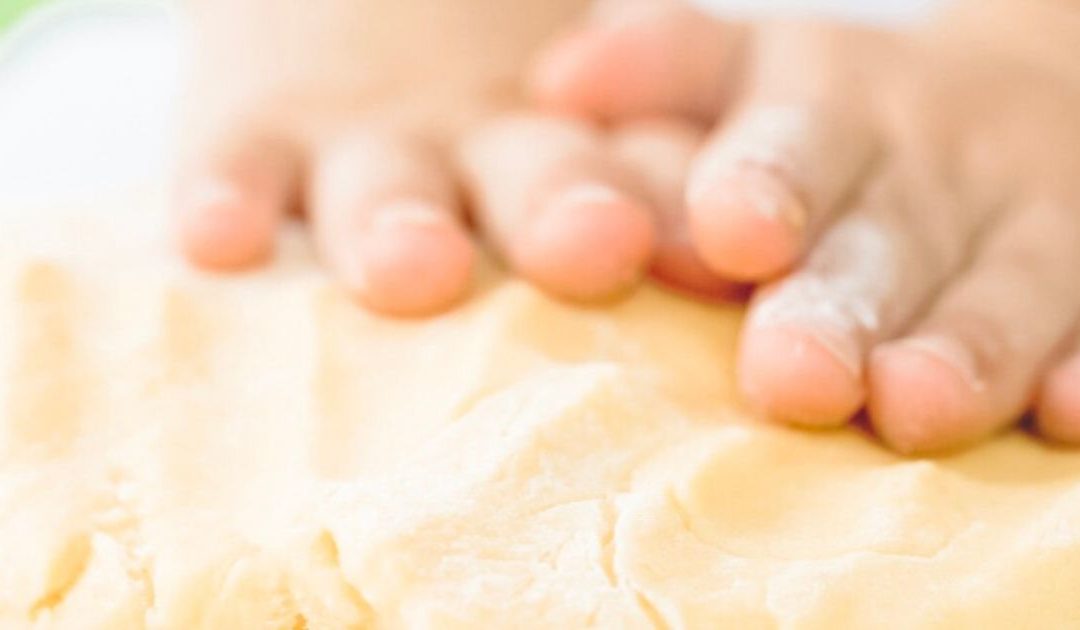
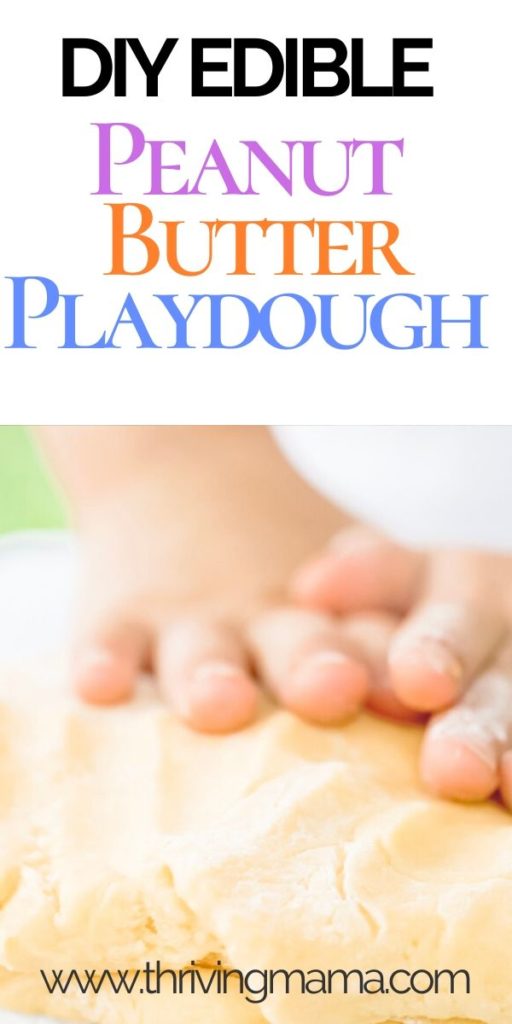
This peanut butter edible playdough recipe is not only an easy and fun activity for the kids, but a healthy snack to boot!
Today I am sharing with you a fun activity for the kids…and for grown ups…Edible Peanut Butter PlayDough. This is the recipe that my own mom used to make for us when we were kids. It brings back a lot of great memories and my kids enjoy it just as much as I used too.
Make sure your surfaces and kids hands are clean before using! The recipe takes just a few minutes to make and has only 3 ingredients. It can last up to a few days in an air tight container as long as it is handled properly.
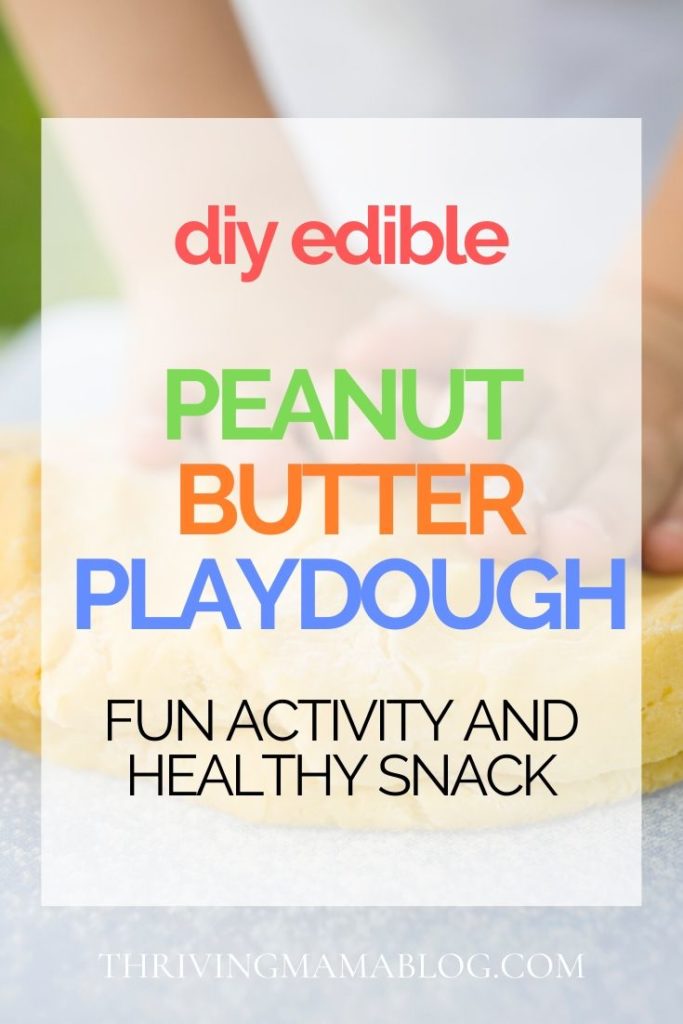
PIN EDIBLE PLAYDOUGH RECIPE
This post contains affiliate links, for which we may earn a small commission at no added cost to you. Read our affiliate disclosure here
EDIBLE PLAYDOUGH RECIPE
This peanut butter edible playdough is not only an easy and fun activity for the kids, but a healthy snack to boot!
Serving size: 2
Prep Time: 5 minutes
Total Time: 5 minutes
EDIBLE PEANUT BUTTER PLAYDOUGH INGREDIENTS
1/2 cup Smooth Peanut Butter
1/4 cup to 1/2 cup Flour
2 Tablespoons Honey
The Ultimate Summer Bucket List for Kids
FREE PRINTABLE
You have Successfully Subscribed!
EDIBLE PEANUT BUTTER PLAYDOUGH INSTRUCTIONS
In medium bowl, stir peanut butter and honey.
Add flour gradually to desired consistency, switching to hand kneading as it thickens.
Store in an air-tight container for up to a couple of days.
NOTES
The recipe makes enough for one child to play with. You can let the kids throw in some pretzels, chocolate chips or raisins, etc. when they are playing with the play dough. My kids feel like they are really making some great culinary creations! It actually tastes pretty good too!
This peanut butter edible playdough is not only an easy and fun activity for the kids, but a healthy snack to boot!
Prep Time5mins
Total Time5mins
Servings: 2
Ingredients
1/2cupSmooth Peanut Butter
1/4cupflour OR powdered milk*add up 1/2 cup more until desired consistency is reached
2THoney
Instructions
In medium bowl, stir peanut butter and honey.
Add flour gradually to desired consistency, switching to hand kneading as it thickens.
Store in an air-tight container for up to a couple of days.
Notes
The recipe makes enough for one child to play with. You can let the kids throw in some pretzels, chocolate chips or raisins, etc. when they are playing with the play dough. My kids feel like they are really making some great culinary creations! It actually tastes pretty good too!
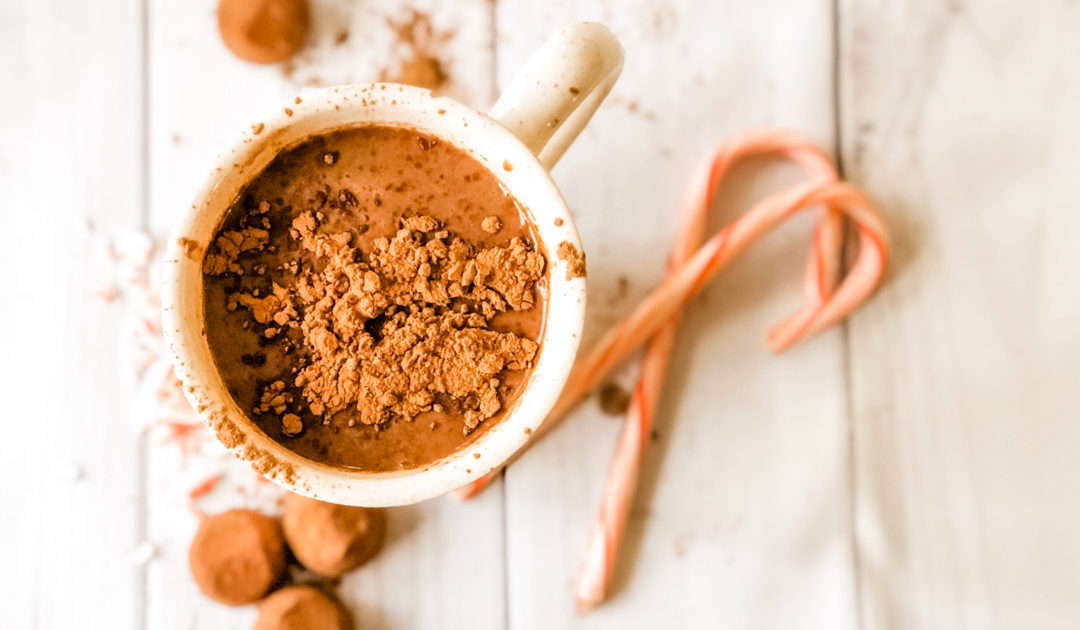
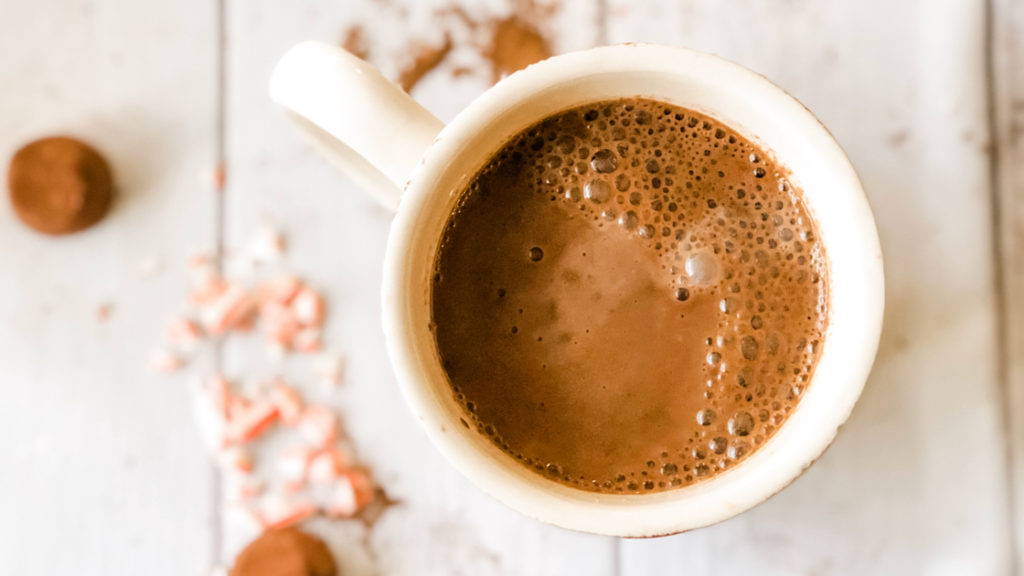
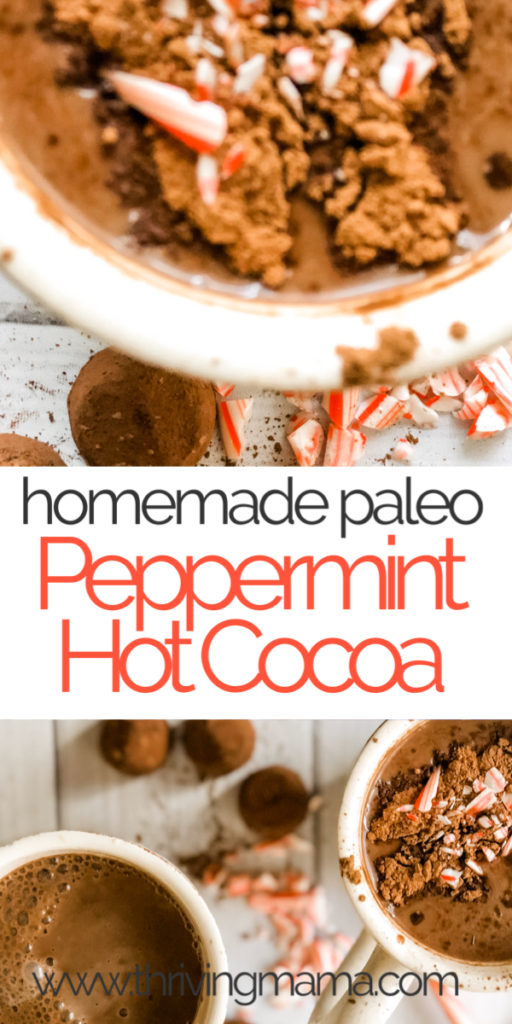
This delicious Paleo Peppermint Hot Chocolate is the perfect thing to cozy up with on a cold night. Healthy and easy to make.
I don’t know if there is anything better than coming in from a day of playing in the snow and cuddling up on the coach with a warm cup of hot cocoa and a Christmas movie. I think this is a winter tradition that most of us have fond memories of
We already started this same tradition with my little ones, and they love it as much as I do! We plan on drinking LOT’S of hot cocoa this winter. Bring on the snow!
This is a healthy version of our beloved hot chocolate, that is still delicious! And you can add peppermint essential oil for an extra special holiday treat.
I LOVE cooking with essential oils! I have a 20 page ebook about it that you can download for free: Cooking with Essential Oils
PIN THIS HEALTHY HOT CHOCOLATE RECIPE
This post contains affiliate links, for which we may earn a small commission at no added cost to you. Read our affiliate disclosure here
COOKING WITH ESSENTIAL OILS
One of the fun things about essential oils is how they can be used for cooking, and add a burst of flavor to so many different dishes.
There are a couple of basic things you need to know about cooking with essential oils before you start using them in your kitchen.
Make you are using a brand of essential oils that is extremely high quality and safe for internal use. Not all essential oils are safe for internal use. Learn more about the oil I use here.
It doesn’t take much. Essential oils are very concentrated and a little goes a long way. Usually 1 drop (or less) is plenty.
A general rule of thumb is 1 drop essential oil=1 tablespoon of dried herbs.
Start with less than a drop to see how it tastes. Dip the end of a toothpick into the oil and stir the end into the dish to use less than 1 drop at a time. Better safe than sorry!
ABOUT THE INGREDIENTS IN PALEO PEPPERMINT HOT CHOCOLATE
When making paleo hot chocolate, there are a lot of great paleo friendly milk alternatives. From plant based milks to traditional dairy, you can find one that fits your taste and dietary requirements.
ALMOND MILK
Almond milk is a great option for anyone that has a dairy allergy. It has a creamy texture and nutty flavor that pairs well with hot chocolate.
Almonds offer a lot of health benefits. Not only are they high in protein, but they also contain healthy fat, fiber and vitamin E. They areare high in protein, contain healthy fat, fiber, and vitamin E. They may help to lower cholesterol, blood sugar and blood pressure.
COCONUT MILK
Coconut milk has a delicious, rich and creamy texture, making it another great choice for hot cocoa.Coconut milk is made from the “meat” of mature coconuts. It is full of healthy fats and loaded with vitamins, as well as being a good source of vitamin C, folate, iron, magnesium, potassium and protein.
OAT MILK
The texture of oat milk is surprisingly similar to dairy milk with a delicious, nutty flavor. If you have an allergy to nuts or almonds, can’t do dairy or soy, or are on a vegan diet, oat milk can be a great alternative. It can also foam up really well, which is great for things like lattes!
Hemp-milk is my favorite non-dairy milk alternative, and definitely one of the easiest to make! Hemp Milk is high in protein and contains a lot of beneficial Omega 3’s.
There are so many wonderful options for plant based and vegan milks these days, sometimes it’s easy to forget about good ol’ fashioned dairy! When sourced carefully, dairy milk can offer a lot of health benefits and even be considered “paleo”.
The best kind of dairy is organic, raw and from grass-fed cows. Pasteurization destroys all of the good probiotics and enzymes that are naturally found in raw milk, making it difficult to digest and assimilate.
Find raw milk farmers in your area with this website.
COCONUT SUGAR
Coconut sugar is a minimally processed sugar that contains natural vitamins, minerals, iron and zinc. It is made from the sap of the flower bud stem of the coconut palm tree.
Since it is less processed than table sugar, it has a lower glycemic index with makes it a healthier option. It also contains inulin which can help to stimulate the growth of good bacteria in your intestines.
Learn how to use Essential Oils in your home...
Watch my free class and learn how I use essential oils for everything from cooking to cleaning to kids!
You have Successfully Subscribed!
CACAO POWDER
Raw cacao powder has 40 times the antioxidants of blueberries and is the highest vegan source of iron, as well as a great source of zinc and magnesium. Cacao also has more calcium than cows milk, a fact that surprises many people
Regular cocoa is ok to use as well, but it won’t contain the the rich depth of flavor or as many health benefits as raw cacao as it has been roasted and treated with an agent, and so some of it’s nutritional benefits have been compromised
Cacao has been shown to be a natural mood booster.
PEPPERMINT ESSENTIAL OIL
If you love the combo of peppermint and chocolate, this oil will be your new favorite! I use it in everything from hot cocoa to chocolate frosting to fudge.
Peppermint essential oil can help to calm stomach upset and digestive function when taken internally. Add 1 drop to warm tea, desserts, or a savory dish any time you want a minty flavor.
HEALTHY PEPPERMINT HOT CHOCOLATE RECIPE
DESCRIPTION
This delicious Paleo Peppermint Hot Chocolate is the perfect thing to cozy up with on a cold night. Healthy and easy to make.
Serving size: 2 cups
Prep Time: 5 minutes
Cook Time: 5 minutes
Total Time: 10 minutes
PALEO PEPPERMINT HOT CHOCOLATE INGREDIENTS
2 cups unsweetened almond milk or other plant based milk
Two tablespoon coconut sugar
2 tablespoon cocoa powder
1/4 teaspoon vanilla
1 drop of peppermint essential oil (optional)
PALEO PEPPERMINT HOT CHOCOLATE INSTRUCTIONS
Add all ingredients -except peppermint essential oil- to a medium-sized pan. Heat over medium heat, being careful not to boil and stirring frequently.
When desired temperature is reached, remove from the heat.
Pour cocoa into a mug and add peppermint essential oil. Stir well.
Top with chocolate shavings if desired. Serve hot.
NOTE: You may find one drop is too much for your taste. If so, use a toothpick and dip it in the essential oil bottle. Swirl the toothpick into your mug to give it peppermint flavor without it being too strong.
This delicious Paleo Peppermint Hot Chocolate is the perfect thing to cozy up with on a cold night. Healthy and easy to make.
Prep Time5mins
Cook Time5mins
Total Time10mins
Course: Drinks
Cuisine: American
Servings: 2servings
Ingredients
2cups2 cups unsweetened almond milk or other plant based milk
oat, coconut, hemp etc or raw dairy
2tablespoonsraw cacao or cocoa powder
2 tablespooncoconut sugar
Instructions
Add all ingredients -except peppermint essential oil- to a medium-sized pan.
Heat over medium heat, being careful not to boil and stirring frequently.
When desired temperature is reached, remove from the heat.
Pour cocoa into a mug and add peppermint essential oil. Stir well.
Top with chocolate shavings if desired. Serve hot.
Notes
NOTE: You may find one drop is too much for your taste. If so, use a toothpick and dip it in the essential oil bottle. Swirl the toothpick into your mug to give it peppermint flavor without it being too strong.
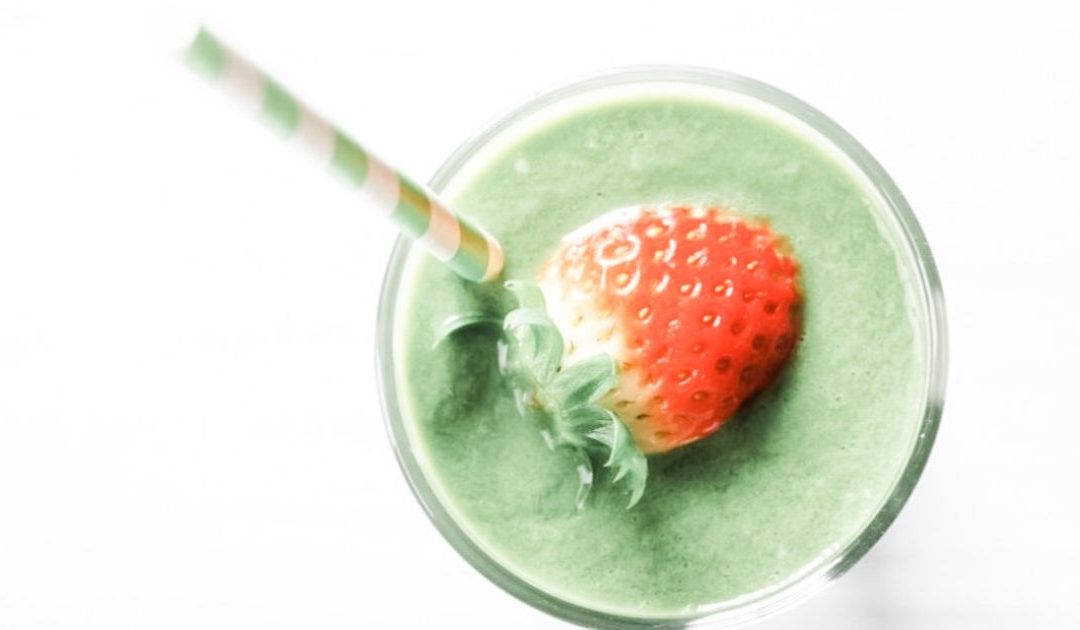
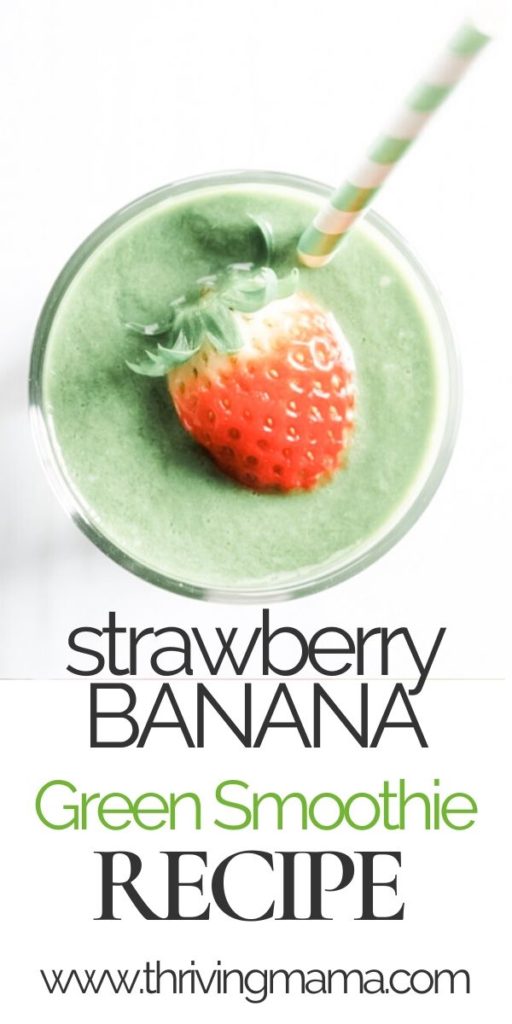
There was a time when we drank this Strawberry Banana Smoothie literally every single day. At the time, I had a toddler and a very fussy newborn, and my ability to cook with two hands was severely limited. Fortunately, blending a smoothie is possible to do while using only ONE hand, and so this simple and easy recipe became our fall back plan for a quick meal or snack. Plus, it only has 4 ingredients and is very yummy (seriously).
This Strawberry Banana Smoothie Recipe is still my family’s favorite simple smoothie. It uses ingredients that are affordable and easy to find all year round in most grocery stores. It is creamy, delicious, sweet and so easy to make! My kids request this smoothie on a regular basis.
The reason I try to combine a lot of different fruits into this smoothie is to ensure we’re getting a variety of vitamins and minerals. I think of green smoothies as a daily vitamin to help keep our immune systems built up and make sure everyone stays healthy…especially during those winter months!
And on days when I’m questioning my ability to be a good mom (I’m not too proud to admit that I do have those days when my parenting confidence plummets!!!), nothing restores my faith in myself quite as much as having my kids request fruits and veggies for breakfast. And since they request this smoothie recipe quite a bit, it’s a win-win for us all!
PIN STRAWBERRY BANANA SMOOTHIE RECIPE FOR LATER!
This post contains affiliate links, for which we may earn a small commission at no added cost to you. Read our affiliate disclosure here
The reason why I combine quite a few fruits into this smoothie is to make sure we’re getting a variety of vitamins and minerals. My whole goal with green smoothies is to treat them as a daily vitamin to keep our immune systems strong and our body healthy. It’s been 8 years of drinking these now, and we’re still going strong!
BEST STRAWBERRY BANANA SMOOTHIE TIPS
Don’t use only frozen fruit. Using both frozen bananas and frozen strawberries may result in a super thick smoothie that is difficult to drink. I prefer using a frozen banana and fresh berries, but you could also use frozen berries and a fresh banana.
No need for added sugar. Bananas and strawberries contain plenty of natural sweetness, so there’s no need to add any sugar! If you feel the need for more sweetness, a couple of pitted dates will do the trick.
Mix it up with dairy-free milk. You can make this strawberry banana smoothie with a dairy-free/vegan milk for added creaminess.
Go easy on the ice. Using a frozen banana or frozen fruit in the recipe keeps the drink cold, but it doesn’t water it down. If you don’t have any frozen fruit handy, you can add a few ice cubes instead…just don’t add too many or it will water the smoothie down.
SIGN UP FOR THE FREE 7 DAY SMOOTHIE CHALLENGE
Sign up now to experience just how tasty, affordable AND quick a daily green smoothie can be! Because who really wants to do it any other way? Enjoy 7 simple recipes, a 7-ingredient shopping list and a thriving support group to ask any questions along the way.
Start thriving today!
Awesome! You did it! Now check your email for your challenge!
HOW TO MAKE A STRAWBERRY BANANA SMOOTHIE
Making a strawberry banana smoothie is so easy any one can do it. Simply blend strawberries, bananas, and other desired ingredients to your blender and blend until nice and creamy. If you use the recipe below, it should be cold and creamy but not too thick.
A classic an yummy smoothie! Packed full of nutrition from antioxidant and vitamin C rich oranges and strawberries, vitamin K and iron from the spinach, with a solid punch of potassium from ripe bananas. Children love this mild and sweet smoothie, and it’s a great staple recipe to add to your regular menu!
STRAWBERRY BANANA SMOOTHIE INGREDIENTS:
2 cups spinach (fresh)
2 oranges (peeled and seeded)
1/2 cup water
1 cup strawberries*
1 cup blueberries*
2 bananas*
INSTRUCTIONS
Blend the spinach in the orange juice and water liquid.
Add the remaining fruits and blend until smooth.
*use one type of frozen fruit for a creamer and cool texture, or blend with a few ice cubes.
If you try this recipe out, I’d sure love to hear what you thought! Leave me a comment below and tell me how it was!
Get my latest blog post, video tutorials, natural remedies, and healthy recipes delivered to your inbox.
You have Successfully Subscribed!
Welcome! I’m Gessell. Follow along for all things natural living, essential oil education, motherhood and healthy recipes.
Follow Us
Search the Blog
This is a doTERRA Certified Website
This website uses cookies to improve your experience. We'll assume you're ok with this, but you can opt-out if you wish. Cookie settingsACCEPT
Privacy & Cookies Policy
Privacy Overview
This website uses cookies to improve your experience while you navigate through the website. Out of these cookies, the cookies that are categorized as necessary are stored on your browser as they are essential for the working of basic functionalities of the website. We also use third-party cookies that help us analyze and understand how you use this website. These cookies will be stored in your browser only with your consent. You also have the option to opt-out of these cookies. But opting out of some of these cookies may have an effect on your browsing experience.
Necessary cookies are absolutely essential for the website to function properly. This category only includes cookies that ensures basic functionalities and security features of the website. These cookies do not store any personal information.
Any cookies that may not be particularly necessary for the website to function and is used specifically to collect user personal data via analytics, ads, other embedded contents are termed as non-necessary cookies. It is mandatory to procure user consent prior to running these cookies on your website.
Join the Community and Get the Password for Instant Access to All of My Free Resources
Yay! You did it! Now check your email for your password to access the free stuff